 | Welcome on MOOC-invitation |
|
| New! | An invitation to practice origami | map | Practical work The kusudamas |
| Back MOOC1 | Journey 3 | Sequence 6 | <--- page 2 | page 3 | page 4---> |
 |
Making kusudamas |
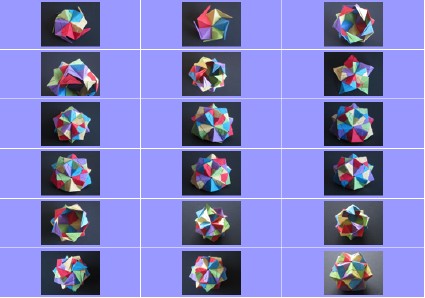
| The creation of a kusudama is done in two stages: - folding of a greater or lesser number of modules, depending on the chosen assembly model, - assembly of the modules. This assembly is done with or without gluing. The models without gluing are the most sought after, but sometimes give rise to acrobatic montages, the whole only taking place when the last module is put in place! Moreover, nothing prohibits assembly as the progress of folding modules. Do as you please! A great variability characterizes the modules: - the starting format can be a square, or a rectangle with proportions more or less simple to obtain 1: 2, 1: 3, 1: √2, etc. The question of mass production of leaves in the right format then arises. Some effective methods are described in the following pages. - The number of folds to achieve may be from half a dozen to several tens! The folding phase of the modules can then require a significant time. Download the document « Construction d'une boule décorative » and follow it scrupulously. The first time, use the same paper for all modules. When you are more comfortable, try the colorful versions. The pictures that accompany this sheet show an assembly with 5 colors: the sets of 5 modules constituting the faces of the polyhedron bear the 5 colors, - The pyramids of 3 modules constituting the vertices of the polyhedron bear three different colors. The decorative ball of the figurine is a variation of the ball described in the following photos. Will you find out how to do it? |
1 document(s) to download
| mlconstkus.pdf | Construction d'une boule décorative, 2 pages |
21 photo(s)