 | Welcome on MOOC-invitation |
|
| New! | An invitation to practice origami | map | Discovery of the world of folding paper From origami to the Art of Folding Paper |
| Back MOOC1 | Journey 2 | Sequence 1 | <--- page 1 | page 2 | page 3---> |
 |
Diagrams |
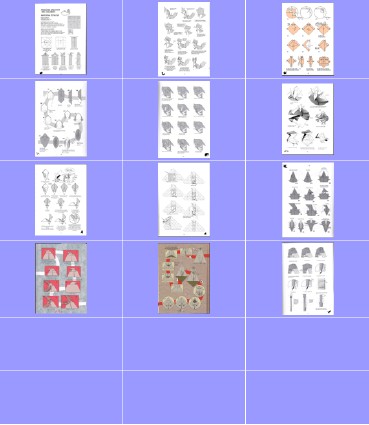
| The invention of diagrams by Akira Yoshizawa and Samuel Randlett around 1950 is the beginning of the spread of origami. Up to this time, the few books about origami were written in ancient japanese with some unclear drawings. Their understanding was limited, then the spreading of this practice was poor. The substitution of literary texts by sets of coded drawings has been the source of a sudden development of traditional origami knowledge, then the creation worldwide of models being the base of modern origami. You should read Yoshizawa-Randlett_system . Two elements underline the use of diagrams: - the folder repertoire, i. e. a set of graphical symbols corresponding to folding operaitons: make a mountain fold, a valley fold, a reverse fold; turn over the folding; make a preparatory fold, and so on. - the diagram strictly speaking, description of the way to fold through a set of drawings, each one illustrating one step. Of course, choosig the folding operaitons and their associated symbolism (a mountain fold has to be represented by dashes separated byone point or two points...), ways and means to make the drawings and to arrange them (for instance: reading from left to right or from riht to left, with or without some underlying path, black and white or colors,...) led to non-stop arguments which are still continuing. Some diagrams excerpts are shown below, thanks to Nicolas Terry who authorized their use. Actually, diagrams arise three major problems: - how to choose an efficent and nice folding sequence. There exist sometimes several ways to make a folding, each way with its supporters or critics. For instance, when folding a preliminary base, would you begin by the medians or by the diagonals? - how to choose the detail level of a sequence: would it be better to describe the (sometimes complex) folding of a right flap and then use a repeat symbol (apply the same sequence onto the left flap) or describe in detail the right and the left foldings? The first solution leads to tightly packed diagrams but the real number of folds is hidden. The second solution could, at first reading, discourage the folder from making the folding (realization of the real number of folds) but very much liked afterwards, mirror folding being sometimes not easy to understand. - draw the pictures, long and tedious process. Even if the use of computers allows to speed up and improve the quality of diagrams, some designers have given up, prefering to create rather than to draw diagrams. We must also say that some creators prefer to keep their folding secrets for them. The better knowledge of the mathematical foundations of folding and the familiarisation with the most complex techniques (for instance the box pleating) have led to the substitution of diagrams by crease patterns (CP), simple map of fundamental mountain or valley folds for describing the first steps of a folding. The finishing touch are leaved to the estimate and the know-how of the folder. Crease patterns have become today major tools for designing and knowledge transmitting. |
12 photo(s)
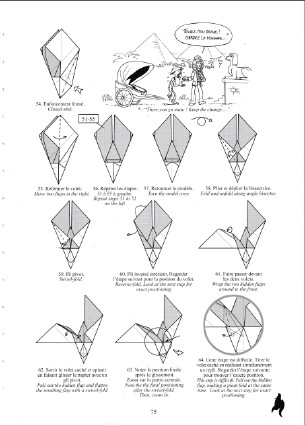 Terry05, p. 75
 | 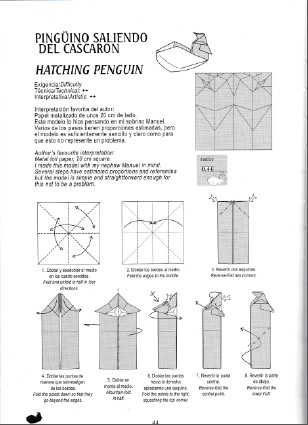 Diaz06, p. 44
 | 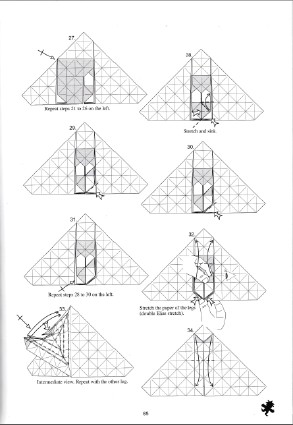 Terry08, p. 85
 |
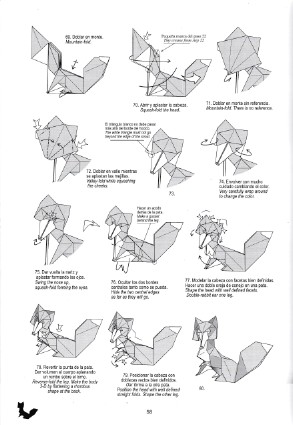 Diaz09, p. 58
 | 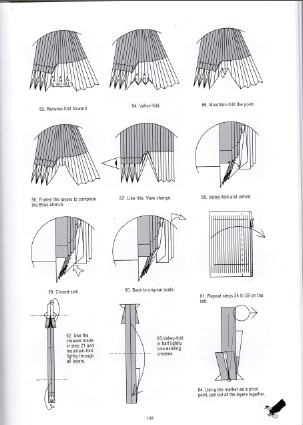 Trollip10, p. 139
 | 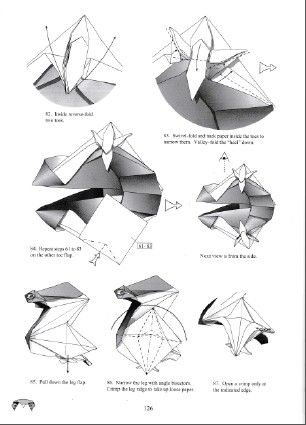 Peyton12, p. 126
 |
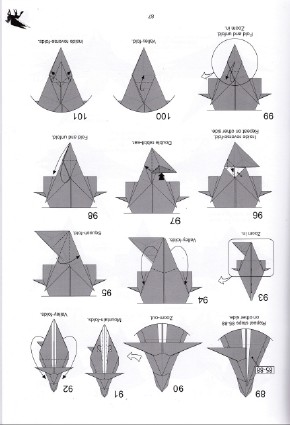 Terry13, p. 87
 | 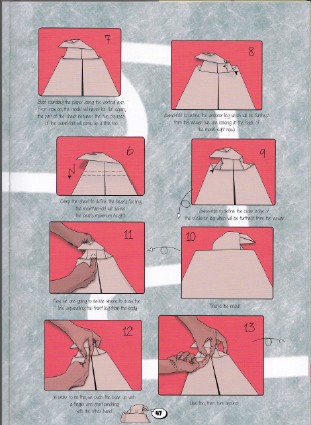 Terry14, p. 47
 | 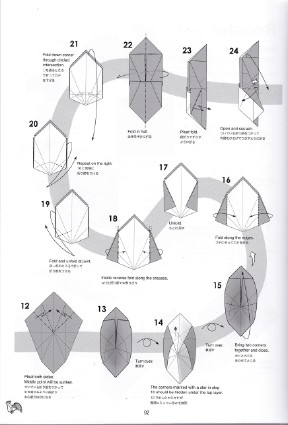 Hagiwara15, p. 92
 |
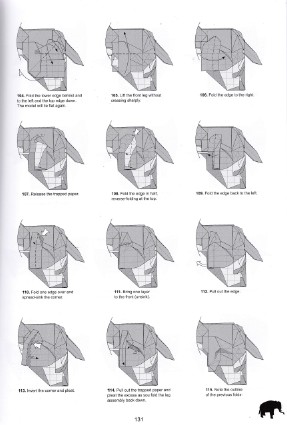 Kato17, p. 131
 | 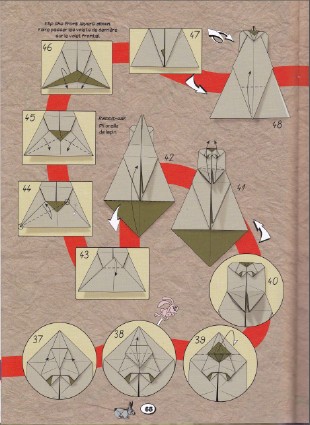 Terry17, p. 68
 | 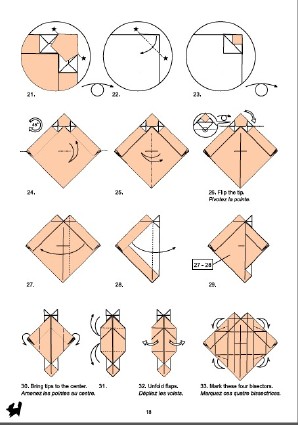 Esteve18, p. 18
 |